


How to Host a Minecraft Server on Your PC?
Why Host on Your PC?
Hosting a Minecraft server on your PC gives you full customization control, including mod installation and player limits. This method also allows you to save costs and provides privacy for playing with friends.
🌍 Requirements for Hosting a Minecraft Server
To ensure a smooth experience, your PC should meet these basic requirements:
- Operating System: Windows 10/11, macOS, or Linux.
- RAM: At least 8GB, but 16GB or more is recommended for smoother gameplay.
- Processor: Intel Core i5 or AMD Ryzen 5 (or better).
- Java: Minecraft runs on Java, so you’ll need the latest version installed.
- Network: A stable internet connection with a decent upload speed (10 Mbps or more for multiple players).
⚠️ Note: Hosting a server can put a significant load on your PC, especially if you’re playing on the same machine.
📝 Steps to Host a Minecraft Server on Your PC

Step 1: Install Java
- Download the latest version of Java.
- Install Java by following the on-screen instructions.
- Once installed, open a command prompt (CMD) or terminal and type
java -versionto confirm Java is correctly installed.
Step 2: Download the Minecraft Server Files
- Visit the Minecraft Server download page.
- Download the latest Minecraft server .jar file.
- Save this file in a dedicated folder for easy organization.
Step 3: Set Up the Server Configuration
- In the folder where you saved the server file, open a text editor and create a new file named
start.bat(for Windows) orstart.command(for macOS/Linux). - Add the following code to the file to specify how much RAM you want to allocate to the server:
shell java -Xmx1024M -Xms1024M -jar minecraft_server.jar nogui- Replace
1024Mwith the amount of RAM you want to allocate (e.g.,2048Mfor 2GB of RAM).
- Replace
- Save the file and close the text editor.
Step 4: Run the Server for the First Time
- Double-click on the
start.bat(Windows) orstart.command(macOS/Linux) file to launch the server. - The server will begin to load and generate initial configuration files.
- Look for a file named eula.txt. Open it and change
eula=falsetoeula=trueto agree to Minecraft’s End User License Agreement. - Save the changes and run the
start.batfile again.
Step 5: Customize Server Settings
- Open the server.properties file (generated in your server folder) using a text editor.
- Here, you can customize settings like game mode, difficulty, maximum player count, and more:
- gamemode=survival or creative for creative mode.
- difficulty=easy, normal, or hard.
- max-players=10 to set player limits.
- Save changes once done.
Step 6: Port Forwarding (for External Connections)
If you want to invite friends who are outside your local network, you’ll need to set up port forwarding on your router. Here’s how:
- Access Your Router Settings:
- Open your web browser and enter your router’s IP address (usually something like
192.168.1.1). - Log in with your router credentials.
- Open your web browser and enter your router’s IP address (usually something like
- Locate Port Forwarding:
- Find the Port Forwarding section (it may also be labeled as Virtual Server or NAT).
- Set Up Port Forwarding for Minecraft:
- Add a new port forwarding rule with the following details:
- Service Name: Minecraft (or any name you prefer)
- Port Range: 25565 (Minecraft’s default port)
- IP Address: Your PC’s local IP (found by typing
ipconfigin CMD on Windows orifconfigon macOS/Linux) - Protocol: TCP/UDP
- Save changes on your router settings page.
- Add a new port forwarding rule with the following details:
📝 Note: Each router interface is different. Refer to your router’s manual or online support resources for specific instructions.
Step 7: Start the Server and Invite Friends
- Run the
start.batfile again to launch your server. - Share your external IP address (found by searching “What is my IP” on Google) with friends so they can join.
- Friends should enter the IP in Minecraft’s Multiplayer option to connect.
🔐 Security Tip: Be cautious about sharing your IP publicly and only with trusted individuals.
🎮 Connecting to Your Server on the Same PC
If you’re hosting and playing on the same PC, follow these steps:
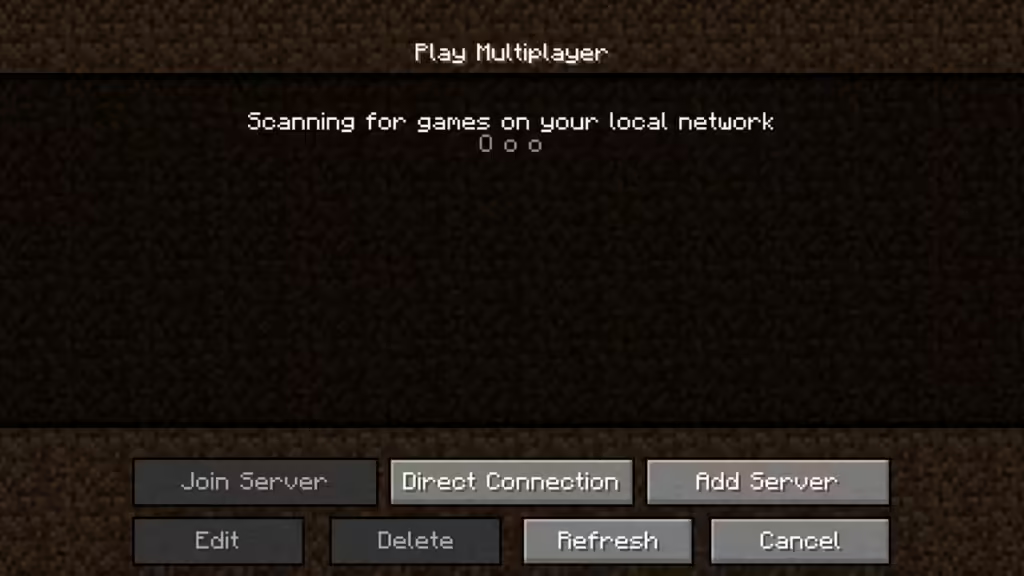
- Open Minecraft and go to Multiplayer > Add Server.
- In the Server Address field, enter
localhost(this connects you directly to your server). - Click Join Server to start playing!
🛠️ Common Issues & Troubleshooting
1. “Failed to Bind Port” Error
- This error occurs if another instance of the server is running or another application is using port 25565. Ensure only one server instance is active, or change the port in the server.properties file.
2. “Can’t Connect to Server”
- Verify that you’ve port-forwarded correctly if friends are connecting from external networks.
- Check that your firewall isn’t blocking Minecraft or the server application. Add exceptions for both Java and Minecraft in your firewall settings.
3. Lag or Performance Issues
- Allocate more RAM by increasing the
-Xmxvalue in thestart.batfile. - Lower the view distance in server.properties to reduce load.
🔗 Additional Resources
- Official Minecraft Server Guide: Minecraft Wiki
- Minecraft Mods and Plugins: Enhance your server with Bukkit Plugins and Forge Mods.
- Minecraft Gameplay Tips: Check out our article on Essential Minecraft Mods for inspiration on gameplay enhancements.
📝 FAQ Section
1. Can I host a Minecraft server on a laptop?
Yes, but be cautious of system requirements. A high-end laptop with sufficient RAM and a good processor can run a Minecraft server, but it may experience overheating or lag.
2. How many players can join my PC-hosted server?
The player limit depends on your PC’s resources and internet speed. Most basic setups handle up to 10 players comfortably, but higher-end PCs can support more.
3. Are there security risks in hosting my own server?
Yes, sharing your IP can expose your network. Use strong firewall settings, only share your IP with trusted players, and consider a Virtual Private Network (VPN) for added security.
🌟 Conclusion
Hosting a Minecraft server on your PC is a rewarding way to customize and control your gaming experience. While it requires some setup, this method offers flexibility and saves money. By following this guide, you can set up your own server, configure it to your liking, and invite friends to join your world. Happy crafting! 🛠️🌄


Post Comment