


How To Screen Record On iPhone?
How to Screen Record on iPhone: A Simple Guide
In today’s digital age, knowing how to screen record on iPhone can be incredibly useful. Whether you want to capture a funny moment in a game, create a tutorial, or save a video call, this guide will show you how to screen record on iPhone in a straightforward manner.
Why Screen Record on iPhone?
Before diving into the steps, let’s discuss why you might need to know how to screen record on iPhone. Recording your screen allows you to save anything happening on your device, from app interactions to live streams. It’s perfect for creating tutorials, sharing important information, or preserving a memorable moment.
How to Screen Record on iPhone: Step-by-Step
1. Check Your iPhone’s Settings
First, ensure that the screen recording feature is enabled:
- Open the Settings app on your iPhone.
- Go to Control Center.
- Tap Customize Controls.
- Find Screen Recording and tap the green plus button next to it.
Now you’re ready to learn how to screen record on iPhone!
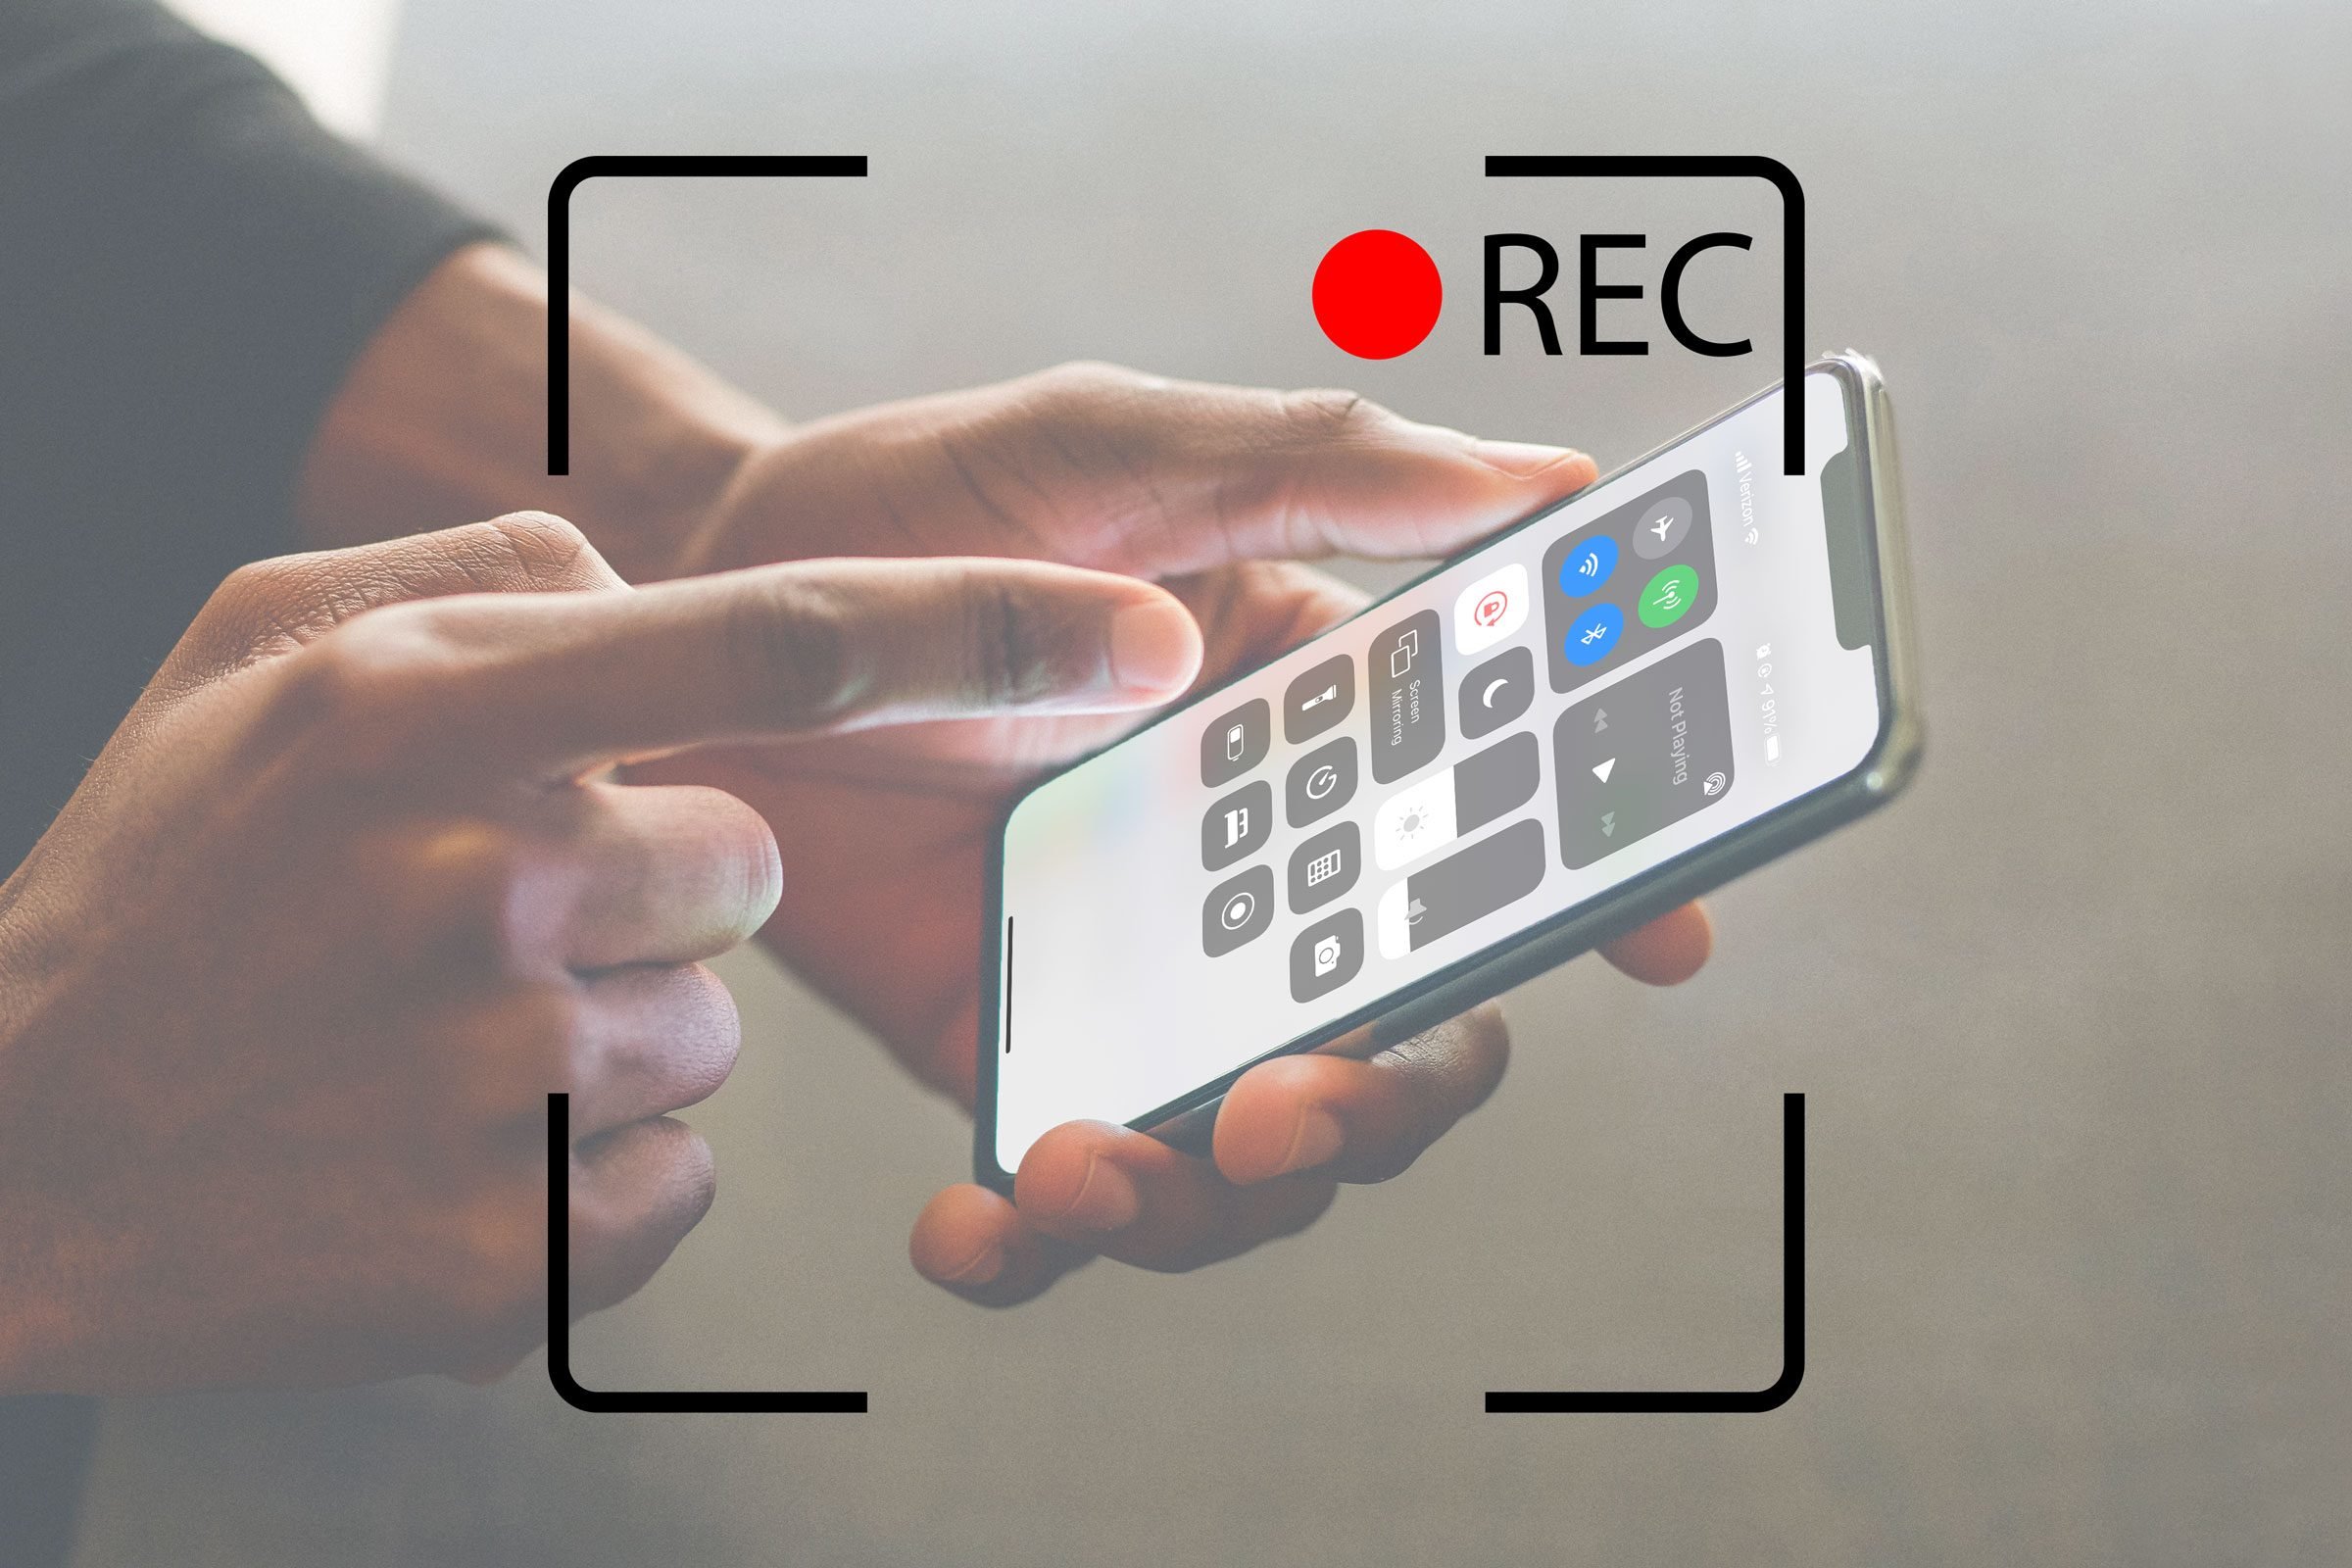
2. Access the Screen Recording Feature
To start recording:
- On iPhones with Face ID (iPhone X and later), swipe down from the top-right corner of your screen.
- On iPhones with a Home button (iPhone 8 and earlier), swipe up from the bottom of your screen.
You will see the Control Center with the screen recording button, which looks like a solid circle inside a larger circle.
3. Start Screen Recording
To begin recording:
- Tap the screen recording button. A 3-second countdown will appear.
- After the countdown, your iPhone will start recording everything on your screen.
During recording, a red status bar (or red pill-shaped icon on newer models) will appear, indicating that recording is in progress.
4. Stop Screen Recording
To stop recording:
- Open the Control Center again by swiping down or up, depending on your iPhone model.
- Tap the screen recording button to stop.
Alternatively, tap the red status bar or red pill-shaped icon at the top of your screen and select Stop.
Where to Find Your Screen Recordings
After stopping the recording, your video is automatically saved in the Photos app:
- Open the Photos app.
- Go to the Albums tab.
- Select Recents or Videos to find your screen recording.
You can view, edit, or share your screen recording from here.
Tips for Better Screen Recordings
Here are some tips to enhance your screen recordings:
- Prepare Your Screen: Close any apps or notifications you don’t want to include.
- Use Do Not Disturb: Turn on Do Not Disturb to avoid interruptions.
- Adjust Settings: Press and hold the screen recording button in Control Center to toggle the microphone for audio recording.
Troubleshooting Common Issues
If you encounter problems:
- No Screen Recording Button: Ensure it’s added in your settings (refer back to Check Your iPhone’s Settings).
- Recording Not Starting: Update your iPhone to the latest iOS version or restart your device.
Conclusion
Learning how to screen record on iPhone is a valuable skill. Whether capturing tutorials, saving content, or sharing moments, screen recording enhances your iPhone experience. Follow these steps and tips to master screen recording and make the most out of this feature. Happy recording!
Feel free to return to this guide anytime you need a refresher on how to screen record on iPhone. With practice, you’ll be recording like a pro in no time!


Post Comment