


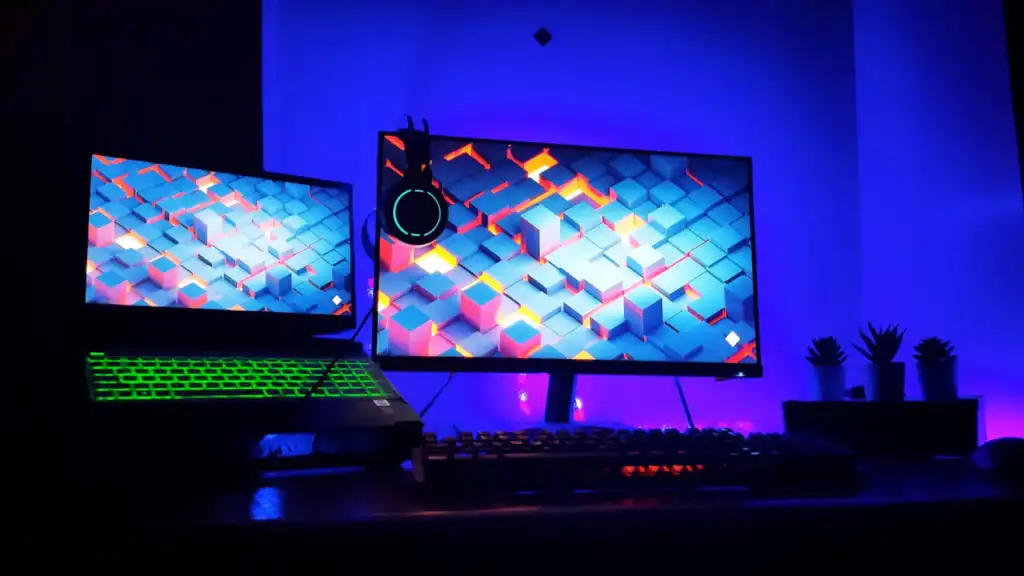
How to Use Laptop as a Monitor?
In today’s digital world, maximizing your workspace is essential for productivity and efficiency. One innovative solution is to use laptop as a monitor. This guide will walk you through the steps to achieve this setup, along with tips and alternatives for optimal performance.
Why Use Laptop as a Monitor?
Using a laptop as a secondary display can enhance your workflow by providing more screen real estate. It’s particularly useful for:
- Multitasking: Manage multiple applications simultaneously.
- Presentation: Share your screen during meetings or webinars.
- Gaming: Extend your gaming experience across screens.
Requirements for Setup
Before diving into the process, ensure you have the following:
- Primary Device: A desktop or laptop with Windows 10 or later.
- Secondary Laptop: Another laptop with Windows 10 or later.
- Network Connection: Both devices should be connected to the same Wi-Fi network.
- HDMI Cable: Optional, for wired connections.
- Capture Card: If necessary, for better resolution and performance.
Step-by-Step Guide to Using a Laptop as a Monitor
1. Enable Projection on Your Secondary Laptop
- Open Settings: Press
Windows + Ito access Settings on your secondary laptop. - Navigate to System: Click on “System,” then select “Projecting to this PC.”
- Configure Settings:
- Choose “Available everywhere” or “Available everywhere on secure networks.”
- Enable input from keyboard or mouse if required.
- Set your preferences for projection requests and PINs.
2. Connect Your Primary Device
- Open Projection Settings: On your primary device, press
Windows + P. - Select Wireless Display: Click “Connect to a wireless display.”
- Choose Your Laptop: Select your laptop from the list.
- Enter PIN: If prompted, enter the PIN displayed on your secondary laptop.
3. Adjust Display Settings
- Right-click on Desktop: On the primary device, right-click and select “Display settings.”
- Detect Displays: Click “Detect” in the “Multiple displays” section.
- Extend Displays: From the dropdown, select “Extend these displays.”
- Adjust Resolution: Modify settings for optimal display quality.
Tips for Optimal Performance
- Strong Wi-Fi Connection: Ensure both laptops are on the same network for seamless connectivity.
- Close Background Applications: This helps free up resources and improve performance.
- Adjust Scaling: If text appears small, adjust the scaling settings for better readability.
- Use Laptop Stands: To maintain ergonomic posture, consider using stands to position your laptops at eye level.
Limitations to Consider
- Input Lag: There may be some delay compared to traditional monitors, affecting gaming and video playback.
- Battery Drain: Running in this mode can quickly deplete the battery, so keep your laptop plugged in.
- Compatibility Issues: Not all laptops support projection features, especially older models.
Alternative Methods
If the above method doesn’t suit your needs, here are some alternatives:
- Wired Connection: If your laptop has an HDMI input, use an HDMI cable for a direct connection.
- Third-Party Software: Applications like SpaceDesk or TeamViewer can facilitate screen sharing and provide additional functionalities.
- Miracast: Some laptops support Miracast technology for wireless screen mirroring without additional software.
Conclusion
Using your laptop as a monitor is a practical solution for enhancing your workspace. Whether you’re multitasking, giving a presentation, or gaming, this setup can improve your overall experience. Following this guide will help you easily implement this functionality.
If you have any questions or need further assistance, feel free to reach out or consult dedicated tech support resources.
Using your laptop as a monitor can greatly enhance your productivity and multitasking capabilities. By following these steps, you’ll be able to create a dual-screen setup that meets your needs!


Post Comment