
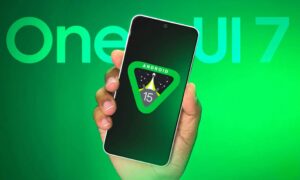
How to Install One UI 7 on Unsupported Devices?
🤔 Why Install One UI 7 on an Unsupported Device?
Samsung limits One UI 7 updates to newer flagship and select mid-range models, leaving many users with older devices stuck on older software. But why should you try to install One UI 7 manually? Here are some compelling reasons:
🚀 1. Get the Latest Features Before Everyone Else
One UI 7 introduces new AI-powered enhancements, smoother animations, better customization, and improved security. By manually installing One UI 7, you get access to these features even if Samsung doesn’t officially support your device.
🔋 2. Performance & Battery Life Improvements
Samsung optimizes each One UI version to run faster and more efficiently. Even if your phone isn’t officially supported, flashing One UI 7 or a custom ROM based on it can bring:
✔ Better RAM management 🚀
✔ Longer battery life 🔋
✔ Optimized system animations
🛠 3. Extended Software Support for Older Devices
Samsung only provides 3-4 years of major updates, leaving older devices behind. If your device stopped receiving updates, installing One UI 7 manually can extend its lifespan and keep it running like new.
🎨 4. Enhanced Customization & UI Experience
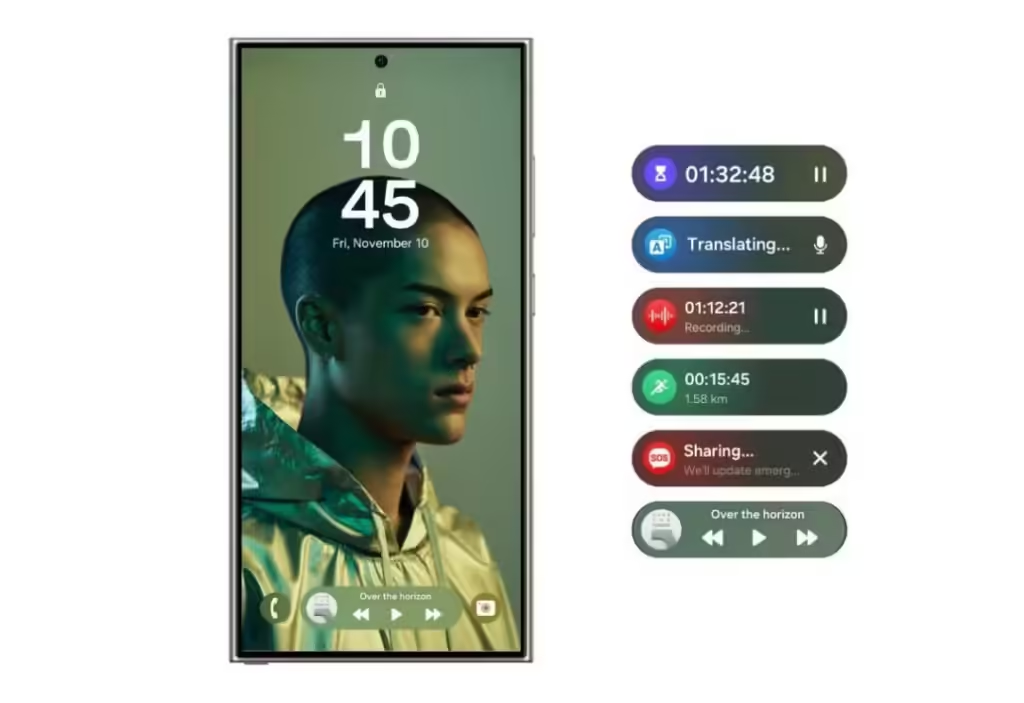
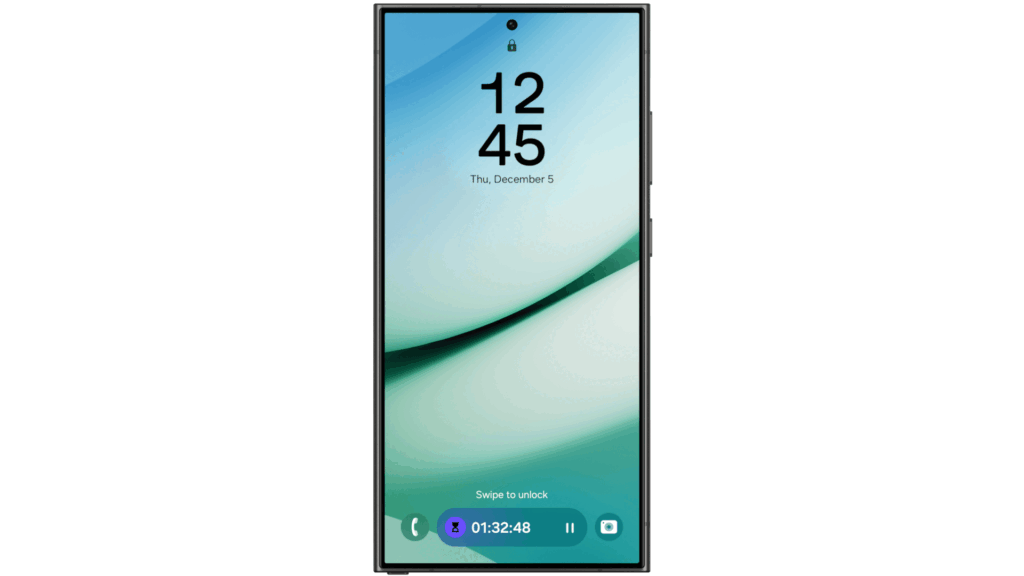
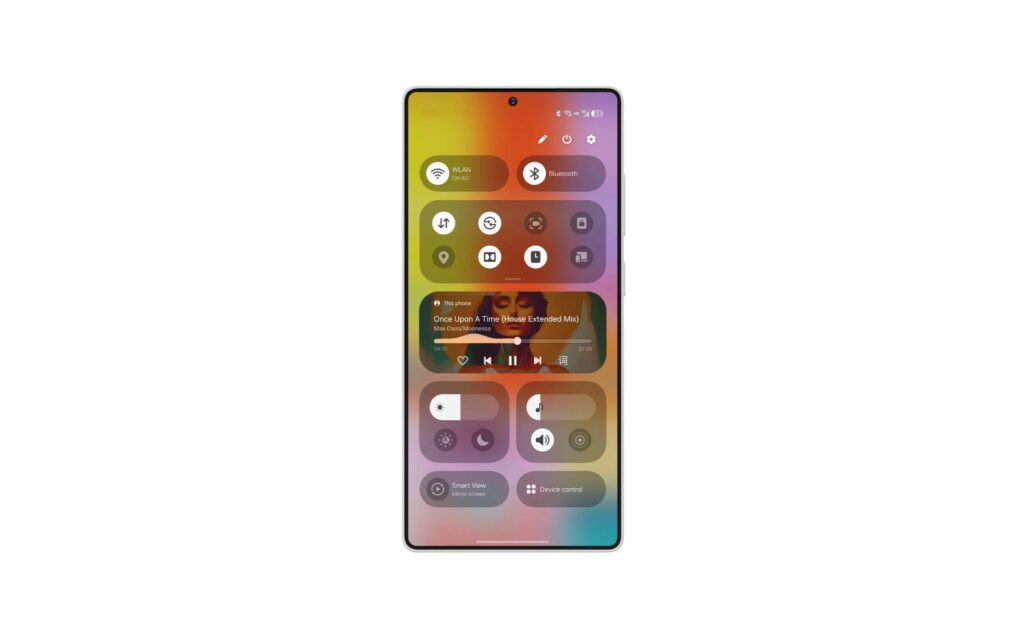
One UI 7 brings new lock screen customization, fresh UI elements, and improved widgets. If you love personalization, upgrading can refresh your device’s look and feel.
🔄 5. Security & Privacy Enhancements
Each major One UI update includes new security patches and privacy features. By updating manually, you protect your device against vulnerabilities that Samsung may no longer patch.
⚠ Before You Install One UI 7 Manually…
✅ Check your device’s compatibility – Some devices may have unofficial support through custom ROMs.
✅ Backup your data – Flashing firmware or a custom ROM wipes your device.
✅ Understand the risks – Installing unofficial software may void your warranty or cause system instability.
💡 Next Step: Now that you know why installing One UI 7 manually is beneficial, let’s move on to important warnings before you proceed. Ready? 🚀
⚠ Disclaimer: Proceed at Your Own Risk
The information provided in this guide is for educational purposes only. Galaxy Tech World and its authors are not responsible for any damage, data loss, or issues that may occur as a result of following these methods. Proceed at your own risk.
🚨 Important Warnings Before Proceeding
🔹 Modifying your device may void your warranty.
🔹 Flashing custom firmware can lead to bootloops, soft bricks, or even permanent damage.
🔹 Samsung Knox security will be permanently disabled, affecting Samsung Pay and Secure Folder.
🔹 Official OTA updates may no longer work, requiring manual updates.
🔹 Some features may not work properly, including fingerprint, camera, or network connectivity.
If you are not comfortable with advanced flashing, unlocking bootloaders, or troubleshooting issues, we strongly recommend sticking to the official One UI updates.
✅ What We Recommend
✔ If your device is eligible for One UI 7, wait for the official update instead of using risky workarounds.
✔ If you still want to proceed, create a complete backup of your data.
✔ Research your device’s compatibility on XDA Forums before flashing any files.
✔ Only download firmware, GSIs, and ROMs from trusted sources.
💡 Final Thought: While these methods allow you to experience One UI 7 on unsupported devices, they come with significant risks. Make sure you understand the consequences before proceeding. 🚀
⚠ Important Warnings Before Proceeding
Before you attempt to install One UI 7 on an unsupported Samsung device, it’s crucial to understand the risks and precautions involved. Flashing firmware or custom ROMs can be tricky, and one mistake can lead to data loss or even a bricked device. Here’s what you need to know before proceeding:
❌ 1. Risk of Bricking Your Device
If something goes wrong during the installation process, your phone could get stuck in a boot loop or refuse to turn on. While some issues can be fixed with reflashing, others may leave your device permanently unusable.
✔ Solution: Follow the instructions carefully and ensure you have the correct firmware or ROM for your device.
🔥 2. Warranty Will Be Voided
Flashing custom firmware or a custom ROM voids your Samsung warranty. If your device is still under warranty, Samsung may refuse to repair it if something goes wrong.
✔ Solution: If you’re concerned about your warranty, consider waiting for an official update or using a Samsung-themed launcher instead.
📉 3. Possible Loss of Samsung Services
After installing a custom ROM or modifying system software, you may lose access to:
❌ Samsung Pay
❌ Secure Folder & Knox security features
❌ Samsung Health (on some ROMs)
✔ Solution: Some ROMs include workarounds, but there’s no guarantee everything will work perfectly.
🛑 4. Data Will Be Erased (Factory Reset Required)
Flashing a new firmware or custom ROM requires a full wipe of your device, meaning you will lose all your data, apps, and settings.
✔ Solution: Back up everything before proceeding! Use Samsung Smart Switch or Google Drive to save your important files.
🔄 5. No Official Support or Updates
Once you install a custom ROM or manually flashed firmware, you won’t receive official Samsung updates anymore. You will have to manually install updates whenever they are released.
✔ Solution: If using a custom ROM, ensure the developer provides regular updates.
⚡ 6. Compatibility Issues & Bugs
Since One UI 7 is not officially supported on your device, you might face:
❌ Camera or fingerprint scanner issues
❌ Battery drain or overheating
❌ App crashes or Wi-Fi/Bluetooth problems
✔ Solution: Research user reviews before installing to see if your device has reported issues.
✅ Final Precautions Before You Proceed
🔹 Make a complete backup of your device 📁
🔹 Charge your phone to at least 70% 🔋
🔹 Use the correct firmware/ROM for your device model 📱
🔹 Download the latest versions of Odin, TWRP, or necessary tools 🛠
💡 Next Step: Now that you’re aware of the risks, let’s proceed with Method 1: Flashing One UI 7 Firmware via Odin 🚀. Ready?
🔥 Method 1: Flashing One UI 7 Firmware via Odin (For Semi-Supported Devices)
If your Samsung device isn’t officially eligible for One UI 7 but has a similar chipset to supported models, you may be able to flash the firmware manually using Odin. This method works for semi-supported devices, like certain regional variants of the Galaxy S23, S22, or older flagships.
⚠ Warning: This process erases all data on your phone. Backup everything before proceeding!
✅ Requirements
✔ A Windows PC (Odin only works on Windows)
✔ A compatible USB cable
✔ Samsung USB drivers installed
✔ Odin3 tool (latest version) – 📥 Download Here
✔ One UI 7 firmware (correct for your device model) – 📥 Download from SamMobile or Frija
🛠 Step-by-Step Guide to Flash One UI 7 Using Odin
Step 1: Download & Extract One UI 7 Firmware
1️⃣ Go to SamMobile or use Frija Firmware Downloader.
2️⃣ Enter your device model number (Find it in Settings > About phone).
3️⃣ Download the latest One UI 7 firmware for your region.
4️⃣ Extract the .zip file – you will see files like:
- AP_xxx.tar.md5
- BL_xxx.tar.md5
- CP_xxx.tar.md5
- CSC_xxx.tar.md5
Step 2: Install Samsung USB Drivers & Odin
📌 Skip this if already installed.
1️⃣ Install Samsung USB Drivers on your PC.
2️⃣ Extract the Odin ZIP file and open Odin3.exe.
Step 3: Boot Your Samsung Device into Download Mode
1️⃣ Turn off your device.
2️⃣ Press and hold Volume Down + Power + Home (or Side button for newer models) simultaneously.
3️⃣ When the warning screen appears, press Volume Up to enter Download Mode.
Step 4: Connect Your Device to PC & Load Firmware Files
1️⃣ Connect your phone to the PC using a USB cable.
2️⃣ In Odin, the ID:COM box should turn blue (indicating your device is detected).
3️⃣ Click on:
- BL → Select BL_xxx.tar.md5
- AP → Select AP_xxx.tar.md5 (this file may take time to load)
- CP → Select CP_xxx.tar.md5
- CSC → Select CSC_xxx.tar.md5 (Do NOT use HOME_CSC if you want a fresh install)
Step 5: Start Flashing One UI 7 Firmware
1️⃣ Ensure “Auto Reboot” and “F. Reset Time” are checked in Odin.
2️⃣ Click Start to begin the flashing process.
3️⃣ Wait 5-10 minutes – your phone will automatically reboot.
Step 6: Complete Setup & Verify One UI 7
1️⃣ After rebooting, set up your device as usual.
2️⃣ Go to Settings > About phone > Software information.
3️⃣ Ensure One UI 7 and Android version are updated! 🎉
🛑 Troubleshooting Odin Flashing Issues
❌ Odin stuck on “FAIL” → Use a different USB port/cable and retry.
❌ Device stuck in boot loop → Boot into Recovery Mode (Vol Up + Power) and wipe cache/data.
❌ Odin not detecting phone → Reinstall Samsung USB drivers.
💡 Next Step: If this method doesn’t work for your device, try Method 2: Installing a One UI 7-Based Custom ROM 🚀.
🔥 Method 2: Installing a One UI 7-Based Custom ROM
If your Samsung device isn’t eligible for One UI 7 and lacks official firmware, you can install a One UI 7-based custom ROM. This method works best for older Samsung flagships or mid-range devices that have an active custom ROM development community.
⚠ Warning: Custom ROMs require an unlocked bootloader and custom recovery (TWRP). Installing a custom ROM voids your warranty and may cause bugs or stability issues. Proceed with caution!
✅ Requirements
✔ A compatible custom ROM (One UI 7-based)
✔ Unlocked Bootloader (Must be unlocked before flashing)
✔ TWRP Recovery Installed (or another custom recovery)
✔ ADB & Fastboot Tools Installed on PC
✔ A USB Cable & PC
📌 Step-by-Step Guide to Install One UI 7-Based Custom ROM
Step 1: Unlock Bootloader (If Not Already Unlocked)
1️⃣ Backup your data (Unlocking the bootloader wipes your phone).
2️⃣ Enable Developer Options:
- Go to Settings > About phone > Software information.
- Tap Build Number 7 times to enable Developer Options.
3️⃣ Enable OEM Unlocking & USB Debugging: - Go to Settings > Developer Options.
- Turn on OEM Unlocking & USB Debugging.
4️⃣ Reboot to Fastboot Mode: - Turn off your phone.
- Press Volume Down + Power to enter Download Mode.
- Connect your device to a PC using a USB cable.
5️⃣ Unlock Bootloader via Fastboot: - Open a command prompt on your PC and type:
fastboot oem unlock - Confirm unlocking on your phone using Volume keys.
📌 Note: Bootloader unlocking resets your phone, so set it up again before proceeding.
Step 2: Install TWRP Custom Recovery
1️⃣ Download TWRP Recovery for your device.
- Visit TWRP official site.
2️⃣ Boot into Fastboot Mode (Same as Step 1).
3️⃣ Flash TWRP via ADB: - Open a command prompt and type:
fastboot flash recovery twrp.img - Replace twrp.img with the actual filename.
4️⃣ Boot into TWRP by pressing Volume Up + Power.
Step 3: Download & Transfer One UI 7 Custom ROM
1️⃣ Find a One UI 7-based custom ROM for your device:
- 🔹 XDA Developers Forum (xda-developers.com)
- 🔹 GitHub & Telegram ROM groups
2️⃣ Download the ZIP file of the ROM.
3️⃣ Transfer the ZIP file to your phone using a USB cable.
Step 4: Flash One UI 7 Custom ROM
1️⃣ Boot into TWRP Recovery (Hold Power + Volume Up).
2️⃣ Wipe Data, Cache & System:
- Go to Wipe > Advanced Wipe.
- Select Dalvik / ART Cache, System, Data, Cache.
- Swipe to wipe.
3️⃣ Install ROM: - Go to Install > Locate the ROM ZIP file.
- Swipe to flash.
4️⃣ Flash GApps (if needed): - If the ROM doesn’t include Google Apps, flash NikGApps or MindTheGapps.
5️⃣ Reboot to System and complete setup. 🎉
🛑 Troubleshooting & Common Issues
❌ Stuck in Bootloop? → Boot back into TWRP and wipe data again.
❌ No Google Apps? → Flash GApps package separately.
❌ Fingerprint or Camera Issues? → Some ROMs may have bugs; check XDA for fixes.
💡 Next Step: If a custom ROM isn’t an option, you can try Method 3: Using GSI (Generic System Image) for One UI 7 Experience.
🔥 Method 3: Using GSI (Generic System Image) for One UI 7 Experience
If your Samsung device isn’t officially supported for One UI 7 but supports Project Treble, you can install a One UI 7-based GSI (Generic System Image). This method works for Treble-compatible devices, allowing you to experience One UI 7 without official firmware.
⚠ Warning:
- GSI isn’t optimized for all devices, so you may face bugs or missing features.
- Requires an unlocked bootloader and custom recovery (TWRP).
- Samsung Knox security will break (Samsung Pay, Secure Folder may stop working).
✅ Requirements
✔ Unlocked Bootloader (Check Method 2)
✔ TWRP Recovery Installed (or another custom recovery)
✔ One UI 7-Based GSI Image (Download from XDA Forums)
✔ ADB & Fastboot Installed on PC
✔ A USB Cable & Windows PC
🛠 Step-by-Step Guide to Install One UI 7-Based GSI on Samsung Devices
Step 1: Check if Your Device Supports GSI
1️⃣ Go to Settings > About phone > Software information.
2️⃣ Find Treble Support by running this command in ADB:
getprop ro.treble.enabled
- If it returns true, your device supports GSI.
- If false, this method won’t work for your phone.
Step 2: Download One UI 7 GSI Image
1️⃣ Find a One UI 7-based GSI ROM from sources like:
- 🔹 XDA Developers Forum (xda-developers.com)
- 🔹 Telegram ROM groups
2️⃣ Download the correct version based on your device’s architecture (ARM64, A/B, or A-only). - Use Treble Check app from the Play Store to confirm.
3️⃣ Rename the downloaded file to system.img for easier flashing.
Step 3: Boot into TWRP & Wipe System
1️⃣ Turn off your phone.
2️⃣ Press Volume Up + Power to enter TWRP Recovery.
3️⃣ Go to Wipe > Advanced Wipe.
4️⃣ Select:
- System
- Data
- Cache
- Dalvik / ART Cache
5️⃣ Swipe to wipe.
Step 4: Flash One UI 7 GSI Using ADB & Fastboot
1️⃣ Connect your phone to a PC via USB.
2️⃣ Boot into Fastboot Mode (Volume Down + Power).
3️⃣ Open Command Prompt (Windows) or Terminal (Mac/Linux) and navigate to the folder where you saved system.img.
4️⃣ Flash the GSI image using:
fastboot flash system system.img
5️⃣ After flashing, wipe user data with:
fastboot -w
6️⃣ Reboot your phone using:
fastboot reboot
Step 5: First Boot & Setup
1️⃣ The first boot may take up to 10 minutes—be patient!
2️⃣ Complete the initial setup and check if One UI 7 features are working.
3️⃣ If needed, install Google Apps (GApps) separately using TWRP.
🛑 Troubleshooting & Common Issues
❌ Bootloop or stuck on Samsung logo?
✔ Boot back into TWRP and format data.
❌ Camera or fingerprint not working?
✔ Some GSI builds lack drivers for certain Samsung devices. Try a different GSI build.
❌ Wi-Fi or Bluetooth issues?
✔ Flash Treble-based fixes from XDA (if available).
💡 Final Thoughts: GSI isn’t perfect and may have some bugs, but it’s the best way to get One UI 7 on unsupported devices without full custom ROM support.
🎨 Method 4: Using One UI 7-Themed Launchers & Mods
If your device isn’t eligible for One UI 7 and custom ROMs or GSI aren’t an option, you can still get the One UI 7 experience using themed launchers, icon packs, widgets, and system mods. This method does not require bootloader unlocking or flashing firmware, making it the safest and easiest way to achieve a One UI 7 look.
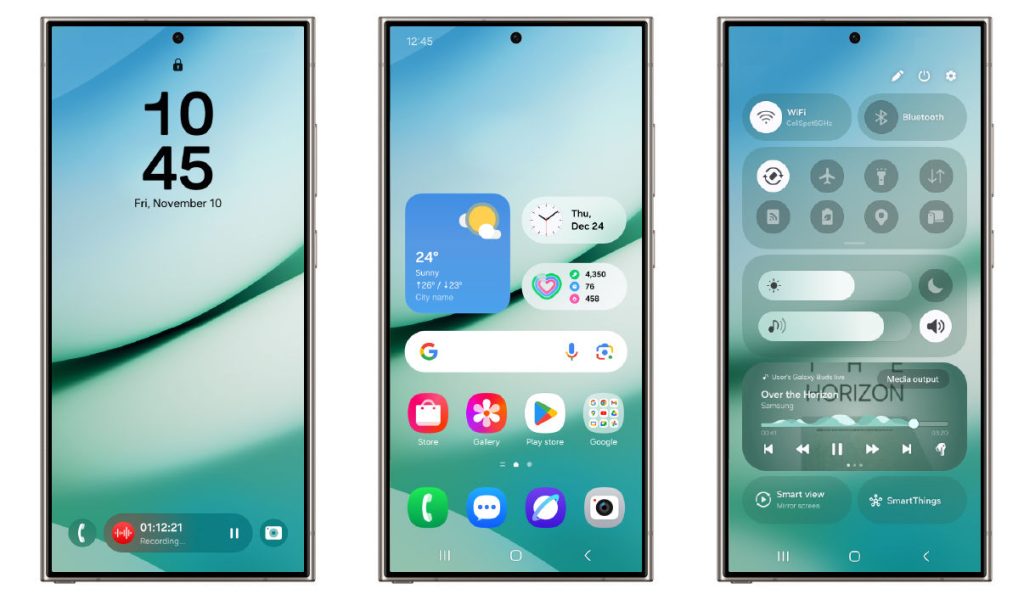
✅ Why Use This Method?
✔ No risk of bricking your device
✔ No need to unlock bootloader or install custom ROMs
✔ Works on any Android device, including non-Samsung phones
✔ Can be reverted anytime without losing data
🚀 Step-by-Step Guide to Get the One UI 7 Look on Any Device
Step 1: Install a One UI 7 Launcher
A good Samsung-style launcher can bring the One UI 7 home screen experience to any Android device. Here are some of the best options:
🔹 One Shade – Brings the One UI quick settings and notifications
🔹 Niagara Launcher – Clean UI with a Samsung-like look
🔹 Nova Launcher + One UI Icon Pack – Best for customization
📥 Download Links:
- One Shade: Google Play Store
- Niagara Launcher: Google Play Store
- Nova Launcher: Google Play Store
📌 Tip: Nova Launcher with a One UI icon pack provides the closest experience to One UI 7.
Step 2: Apply a One UI 7 Icon Pack
To complete the look, install an icon pack that matches One UI 7.
🔥 Best One UI 7 Icon Packs:
✅ One UI Icon Pack – Google Play Store
✅ One UI Round Icon Pack – Google Play Store
📌 Tip: Pair these icon packs with Nova Launcher or Smart Launcher for the best customization.
Step 3: Get One UI 7 Wallpapers & Widgets
1️⃣ Download One UI 7 stock wallpapers from:
- XDA Developers One UI Wallpapers
- Samsung Themes Store (if available)
2️⃣ Use KWGT Widgets to get Samsung-style widgets.
- Install KWGT Pro: Google Play Store
- Download a One UI KWGT pack from XDA or Play Store.
Step 4: Enable One UI 7 Navigation & Gestures
🔹 Use Samsung’s One Hand Operation+ to get One UI-style gestures
🔹 Enable Samsung-like navigation gestures in your device’s settings
📥 Download One Hand Operation+: Google Play Store
📌 Tip: Some gestures may not be available on all non-Samsung devices.
Step 5: Install Samsung System Apps (Optional, Root Required)
⚠ Root required for full system modification! If your device is rooted, you can install Samsung apps like One UI 7 Calculator, Messages, and Settings using Magisk modules from:
- XDA Developers
- Samsung App Ports (Telegram Groups)
🎯 Final Thoughts: Is This Worth It?
✔ Best option for users who don’t want to risk bootloader unlocking
✔ Provides an easy way to get the One UI 7 look
❌ Won’t provide actual One UI features like performance optimizations or animations
⚠ Potential Risks & Downsides of Installing One UI 7 on Unsupported Devices
While installing One UI 7 on an unsupported Samsung device can be exciting, it also comes with several risks and downsides. Below are the key issues you may face when using custom ROMs, GSI, Odin flashing, or UI mods to achieve the One UI 7 experience.
❌ 1. Device Bricking (Bootloop or Hard Brick)
- Flashing incorrect firmware or GSI can soft brick (bootloop) or hard brick (permanently damage) your device.
- Fix: Requires reflashing stock firmware via Odin, which wipes all data.
🔥 2. Samsung Knox & Security Risks
- Installing unofficial software permanently disables Samsung Knox.
- Samsung Pay, Secure Folder, and other security features will stop working.
- Banking apps may detect bootloader unlocking and refuse to work.
📌 Tip: If you rely on Knox features, do not proceed with flashing.
⚙ 3. Bugs & Stability Issues
- Custom ROMs and GSI images may have broken features, such as:
- ❌ Camera malfunctions (blurry photos, missing portrait mode)
- ❌ Fingerprint sensor issues
- ❌ Wi-Fi/Bluetooth/5G connectivity bugs
- ❌ Battery drain due to unoptimized firmware
📌 Tip: Always check XDA forums to find stable builds for your device.
🚫 4. OTA Updates Will Not Work
- Official software updates will no longer work once you install One UI 7 unofficially.
- You will need to manually update your device every time using Odin or custom recovery.
📌 Tip: If you want future updates, stick to official firmware.
🔓 5. Voiding Warranty & Loss of Official Support
- Unlocking the bootloader and flashing custom software voids your Samsung warranty.
- Even if you revert to stock firmware, Samsung can detect past modifications.
📌 Tip: If your device is still under warranty, do not unlock the bootloader.
⚠ 6. Difficulty in Downgrading Back to Stock Firmware
- If something goes wrong, returning to stock One UI 6 can be tricky.
- Samsung firmware is tightly locked, and some downgrades are blocked (Anti-Rollback Protection).
- You may need a PC, Odin, and patience to restore your device.
📌 Tip: Always back up your data before making changes.
🎯 Final Verdict: Should You Install One UI 7 Unofficially?
✔ If you’re experienced with flashing ROMs and troubleshooting issues, this can be worth trying.
❌ If you’re a beginner or rely on Samsung security features (Knox, Samsung Pay), it’s risky.
❓ FAQs: Installing One UI 7 on Unsupported Devices
Below are some of the most frequently asked questions about installing One UI 7 on unsupported Samsung devices.
🔹 1. Can I officially install One UI 7 on an unsupported device?
❌ No. Samsung restricts One UI updates to officially supported devices. If your phone is not on the eligibility list, you won’t receive an OTA update.
📌 Workaround: You can try flashing One UI 7 firmware, using a custom ROM, or installing a GSI (Generic System Image).
🔹 2. Will unlocking the bootloader void my warranty?
✅ Yes. Unlocking the bootloader and installing custom firmware will void your Samsung warranty.
📌 Note: Even if you relock the bootloader later, Samsung can detect past modifications.
🔹 3. Can I install One UI 7 without unlocking the bootloader?
⚠ Partially. You cannot install full One UI 7 without unlocking the bootloader, but you can use:
- One UI 7-themed launchers & icon packs
- Samsung-like widgets & custom ROM skins
👉 This method does not provide full One UI functionality but gives a similar look.
🔹 4. What happens if something goes wrong?
If flashing fails, you might experience:
- Bootloops (device stuck on boot logo)
- Soft brick (device doesn’t boot but can be restored)
- Hard brick (device completely unresponsive – very rare)
📌 Fix: You’ll need to flash official firmware using Samsung Smart Switch or Odin to recover your device.
🔹 5. Will Samsung Pay and Secure Folder work after flashing One UI 7?
❌ No. Unlocking the bootloader permanently disables Samsung Knox, meaning:
- Samsung Pay will no longer work
- Secure Folder will be disabled
- Some banking apps may stop working
📌 Tip: If you rely on Knox features, do not unlock the bootloader.
🔹 6. How do I know if my device is compatible with a One UI 7 GSI?
A GSI (Generic System Image) works on Project Treble-supported devices.
✔ Check if your device supports Project Treble using the Treble Check app (Download Here).
✔ If Treble is supported, you can flash a One UI 7 GSI.
🔹 7. Will I receive OTA updates after installing One UI 7 manually?
❌ No. Once you install One UI 7 via Odin, GSI, or a custom ROM, you won’t get official software updates from Samsung.
📌 Solution: You’ll need to manually update by flashing new firmware when available.
🔹 8. Can I downgrade back to One UI 6 if I don’t like One UI 7?
✅ Yes, but it depends.
- If Samsung hasn’t blocked downgrading, you can flash One UI 6 firmware via Odin.
- If rollback protection is enabled, downgrading may be difficult or impossible.
📌 Check our downgrade guide for step-by-step instructions.
🔹 9. Will performance improve by installing One UI 7 manually?
⚠ Maybe. Performance depends on:
✔ Hardware compatibility – Newer devices may run better.
✔ Properly optimized firmware – Some ROMs or GSIs may be unstable.
❌ Bugs and unoptimized drivers may cause battery drain or lag.
📌 Tip: Always check user feedback on XDA Forums before flashing.
🔹 10. What’s the safest way to get the One UI 7 experience on an unsupported device?
If you don’t want to unlock your bootloader or flash ROMs, use these alternatives:
✔ Install a One UI 7 launcher (like One Shade or Niagara Launcher)
✔ Use a One UI 7 icon pack
✔ Download One UI 7 wallpapers & widgets
✔ Enable Samsung-like gestures using third-party apps
👉 This method is safe and does not affect your warranty.
🎯 Final Thoughts: Should You Install One UI 7 on an Unsupported Device?
✔ If you’re experienced with flashing ROMs and troubleshooting, it might be worth trying.
❌ If you rely on Samsung Pay, Knox, or want a stable phone, it’s too risky.







Post Comment